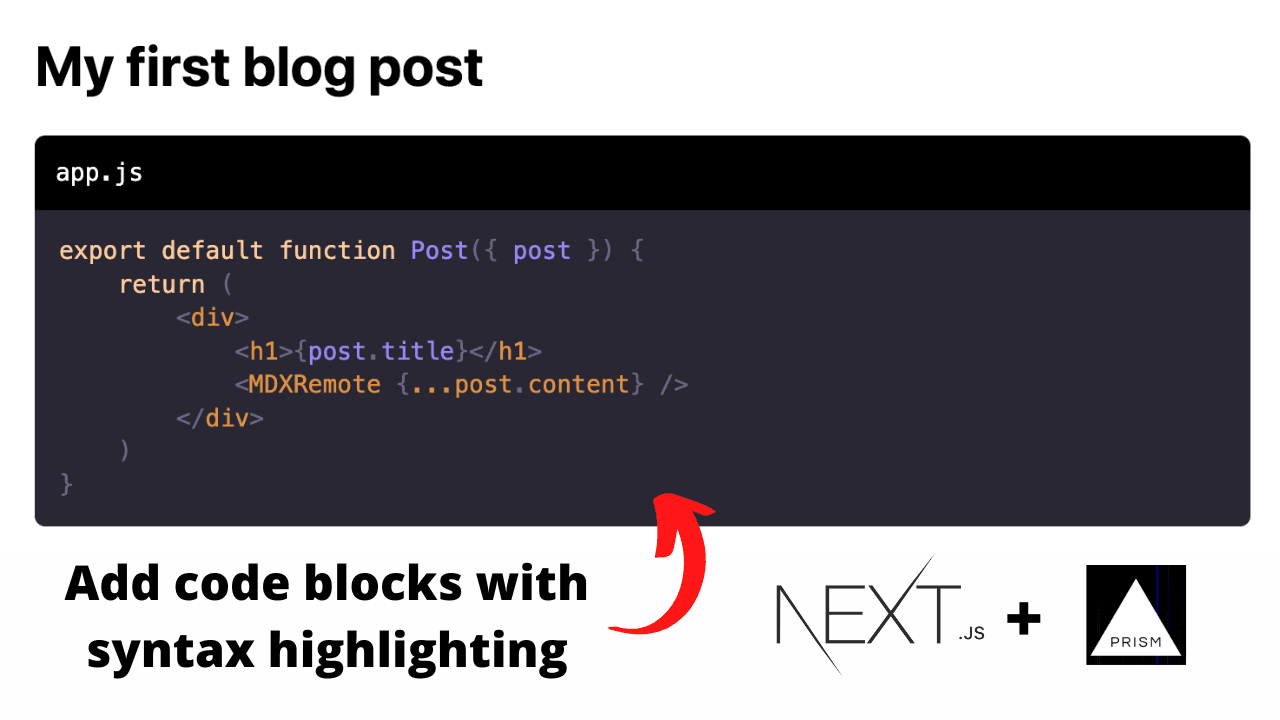
How to add code blocks with syntax highlighting to a Next.js blog using MDX with Prism.js

Table of contents
- Prerequisites
- Step 1: Serialize your markdown with next-mdx-remote
- Step 2: Install rehype-prism-plus and rehype-code-titles packages
- Step 3: Add mxdOptions to your serialize function
- Step 4: Add a Prism.js theme
- Step 5: Add a code block to your markdown
Prerequisites
I will be adding code blocks with syntax highlighting to the blog that I built in the tutorial video How to make a blog with Next.js, Strapi and GraphQL. You can also view the source code of the blog.
The blog uses the next-mdx-remote package which serializes the markdown from a Strapi CMS. You may also have your markdown files locally in your project e.g. my-first-blog-post.mdx. This tutorial will still work for you.
If you have not set up your project using next-mdx-remote, don't worry, step one will take you through it.
Step 1: Serialize your markdown with next-mdx-remote
If you have not got next-mdx-remote installed, run the following in your terminal
npm install next-mdx-remote
OR if using yarn
yarn add next-mdx-remote
There are multiple ways to convert markdown from a CMS or file system to JSX. For this tutorial, we are using the serialize function from next-mdx-remote. Here is a snippet from the getStaticProps() function. This example is using GraphQL to pull down content from a CMS, but you might be pulling the markdown in from other sources.
export async function getStaticProps({ params }) {

    // Get data using GraphQL (This could also be REST API or local mdx files)
    const { data } = await client.query({
        query: GET_INDIVIDUAL_POST,
        variables: { slugUrl: params.slug }
    });

    const attrs = data.blogPosts.data[0].attributes;

    // Serialize the markdown
    const html = await serialize(attrs.content);

    return {
        props: {
            post: {
                title: attrs.title,
                content: html
            }
        }
    }
}
Then in the component we can put
export default function Post({ post }) {
    return (
        <div>
            <h1>{post.title}</h1>
            <MDXRemote {...post.content} />
        </div>
    )
}
The only code, other than CSS we need to change is the following from the snippet above.
    // Serialize the markdown
    const html = await serialize(attrs.content);
Step 2: Install rehype-prism-plus and rehype-code-titles packages
We are going to need to install two packages. You can do that by running the following
npm install rehype-prism-plus
npm install rehype-code-titles
OR if you're using yarn
yarn add rehype-prism-plus
yarn add rehype-code-titles
Step 3: Add mxdOptions to your serialize function
First import the packages into [slug].js, or wherever you serialize your markdown
import rehypePrism from 'rehype-prism-plus';
import rehypeCodeTitles from 'rehype-code-titles';
then add the following rehypePlugins to mdxOptions in the serialize function
    const html = await serialize(attrs.content, { mdxOptions: {
        rehypePlugins: [
            rehypeCodeTitles,
            rehypePrism
        ]
    } });
Step 4: Add a Prism.js theme
You need to add a Prism.js theme, which is just a single CSS file, to your project. Check out this long list of Prism.js themes. Choose one and add the CSS styles to your project so they are available globally.
Step 5: Add a code block to your markdown
Code blocks are added in markdown with three back ticks (`). Here is an example
## Lets code a for loop in C++

In this tutorial, we will loop through a for loop and print out the values of i

```cpp:main.cpp
for(int i = 0; i < 10; i++) {
     std::cout << i << std::endl;
}
```
Notice how we add the language we are using, separated by a colon, then the file name (optional). Prism.js supports a number of different programming languages.
The output from the code block in the above section is
for(int i = 0; i < 10; i++) {
     std::cout << i << std::endl;
}
That's it! You have now successfully added code blocks with syntax highlighting to your Next.js blog!
About the Author
Open for work
Hi, I'm Ryan from Adelaide, South Australia.
I'm a web developer and computer science tutor. I also rock climb, play wheelchair basketball and brew beer.